
Every homeowner has stood in a driveway or backyard, tools in hand, wondering if a project is really as simple as the tutorial made it look. Some weekend jobs genuinely save money and build confidence, while others quietly turn into safety hazards, code violations, or bills far larger than the original repair would have cost. Knowing where that line sits before you start is the difference between a satisfying Saturday and a costly lesson. This article walks through the most common home systems and projects where DIY ambition can outpace DIY skill, so you can make an informed call before picking up a tool.
Rebuilding or Repairing a Front Porch
A sagging front porch or rotted step looks like a straightforward carpentry fix, but porches carry structural loads and often tie into your home’s foundation, roofline, and drainage system. Small mistakes in footing depth, ledger board attachment, or flashing can lead to water intrusion or a collapse risk that isn’t obvious until years later. Many homeowners find that consulting front porch contractors before demolition begins saves them from discovering hidden rot or improper framing halfway through the job.
Permitting is another factor people underestimate, since many municipalities require inspection for any structural porch work, even cosmetic-looking rebuilds. If you’re unsure whether your project needs a permit, that uncertainty itself is often a sign the job has moved beyond casual weekend territory.
- Check for soft or spongy decking, a sign of moisture damage below the surface
- Inspect support posts for cracking or separation from the header beam
- Confirm local permit requirements before removing any structural component
- Look for proper flashing where the porch roof meets the house
Replacing Roof Shingles Yourself
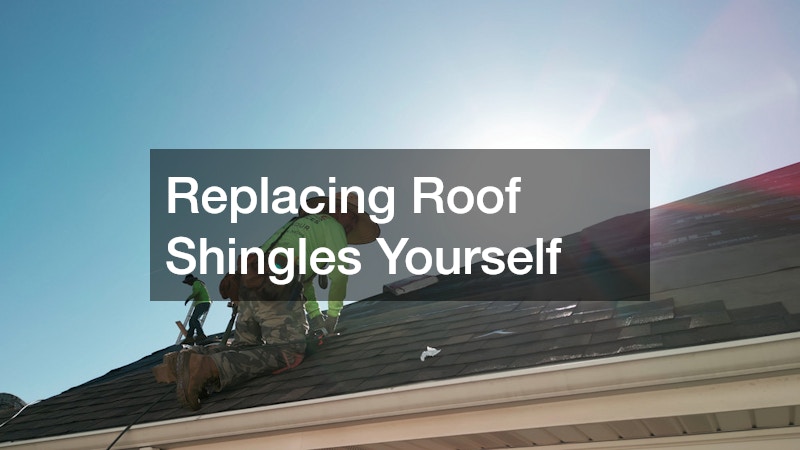
Watching an online video make shingle replacement look easy is one thing; balancing on a steep pitch with a nail gun in your hand is another. Roofing mistakes are rarely visible right away, which is exactly what makes them dangerous financially. Improperly overlapped shingles, missed underlayment, or poor flashing around vents can lead to leaks that show up months later, hidden inside walls or attic insulation.
Because warranties on roofing materials often require professional installation to remain valid, a DIY job can quietly void protection you thought you had. This is one area where getting an estimate from residential roofing contractors before you buy materials can clarify whether the savings are worth the risk.
- Confirm manufacturer warranty terms before attempting any roof work yourself
- Check weather forecasts, since exposed underlayment can be ruined by a single rainstorm
- Inspect for soft spots in the decking that indicate deeper damage
- Never work alone on a steep-pitch roof, regardless of experience level
Tackling Heating and Cooling System Repairs
HVAC systems are electrical, mechanical, and sometimes gas-powered all at once, which makes them one of the riskiest DIY categories in the entire house. A refrigerant leak, a miswired thermostat, or an improperly sealed duct connection can turn a minor inefficiency into a full system failure. Because refrigerant handling is federally regulated, homeowners without certification can face real legal and safety exposure just by attempting a recharge themselves.
An experienced HVAC contractor also carries the diagnostic tools to identify airflow or pressure problems that aren’t visible to the naked eye. What looks like a simple filter or capacitor issue can sometimes point to a much larger problem with the compressor or blower motor, and catching that early often prevents a full system replacement later.
- Avoid opening refrigerant lines without proper certification and tools
- Watch for uneven heating or cooling between rooms, a sign of duct issues
- Replace air filters regularly to reduce strain on the system
- Listen for unusual rattling or clicking, which often signals a failing part
Handling Electrical Wiring and Panel Work
Electrical work sits at the top of the danger list for a reason, since mistakes here can cause fires, shocks, or long-term code violations that surface during a home sale. Swapping a light fixture or outlet cover is generally safe for most homeowners, but panel work, circuit additions, and rewiring require a depth of knowledge that goes beyond following a diagram. A local electrical contractor understands not just how to make a connection but how to size wire correctly for the load it will carry, something a well-meaning DIYer often gets wrong.
Insurance companies frequently deny claims tied to fire damage traced back to unpermitted electrical work, which turns a small mistake into a massive financial exposure. If a project involves anything beyond a simple fixture swap, it’s worth treating that as the signal to bring in a professional rather than push forward alone.
- Never work on a live circuit, even for a task that seems minor
- Watch for warm outlets or flickering lights, both signs of underlying issues
- Confirm wire gauge matches the circuit’s amperage rating
- Avoid DIY panel upgrades, which almost always require a licensed professional and permit
Digging Into Well and Water Systems
Homeowners on private water systems sometimes assume a pump issue or low water pressure is a simple fix, but well systems involve pressure tanks, electrical components, and underground plumbing that interact in ways that aren’t always intuitive. A water well contractor can diagnose whether an issue stems from the pump itself, a failing pressure switch, or a deeper problem with the well casing, something that’s nearly impossible to determine through guesswork. Attempting repairs without understanding the full system can contaminate the water supply or damage equipment that costs thousands to replace.
Water testing is another area where professional oversight matters, since bacterial contamination or mineral buildup isn’t something you can diagnose by looking at your tap. If your water pressure changes suddenly or your water develops an odd smell or color, that’s a signal to call for an inspection rather than experiment with fixes.
- Monitor for sudden drops in water pressure throughout the house
- Test water quality annually, especially after heavy rain or flooding nearby
- Avoid opening well casings or pump housings without proper training
- Watch for unusual sounds from the pressure tank, which can indicate failure
Fixing Leaks and Clogs in Home Plumbing

A dripping faucet or slow drain feels like classic weekend-project territory, and often it is, but plumbing problems have a way of hiding bigger issues behind the visible symptom. A clog that keeps returning after snaking might point to a collapsed pipe or tree root intrusion further down the line, problems that require real diagnostic equipment to find. Plumbing contractors use cameras and pressure testing to locate issues that a plunger or store-bought drain cleaner simply can’t reach.
Chemical drain cleaners deserve a specific warning here, since repeated use can corrode older pipes and make the eventual professional repair more expensive and complicated. If a clog resists a plunger and a basic snake, that’s usually the point where continued DIY effort starts costing more than it saves.
- Avoid repeated use of chemical drain cleaners on older pipe systems
- Check under sinks regularly for slow leaks that can cause hidden mold growth
- Note recurring clogs in the same drain, a sign of a deeper line issue
- Test water pressure at multiple fixtures to catch supply line problems early
Resurfacing or Repairing a Driveway

Cracks and potholes in a driveway seem like an easy patch job, and small cosmetic repairs often are manageable with a store-bought filler kit. Larger resurfacing projects are a different story, since proper drainage slope, base compaction, and material thickness all affect how long the repair actually lasts. An asphalt contractor can assess whether the underlying base has shifted or eroded, a problem that no amount of surface patching will solve.
Skipping proper preparation is the most common reason DIY driveway patches fail within a single season, leading homeowners to redo the same work repeatedly instead of fixing it once correctly. If cracking keeps returning in the same spots year after year, that pattern usually points to a structural base issue rather than a simple surface flaw.
- Fill small cracks promptly to prevent water infiltration and freeze damage
- Watch for pooling water, a sign of poor drainage slope
- Avoid patching over large areas without addressing the base material
- Reseal every two to three years to extend the driveway’s lifespan
Constructing a Metal Building or Workshop
Prefabricated metal building kits are marketed as weekend-friendly, and for small sheds that can be true, but larger structures involve foundation work, anchoring, and load calculations that go beyond bolting together panels. Wind and snow load ratings vary by region, and a structure that’s rated for one climate can fail dramatically in another if it’s not installed correctly. A metal building contractor factors in local codes and engineering requirements that most kit instructions never mention.
Foundation work is where many DIY metal building projects go wrong, since an improperly poured slab or unanchored frame can shift over time and compromise the entire structure. If the building will be used for vehicles, equipment, or livestock, the stakes of getting the foundation and anchoring wrong go up significantly.
- Check local wind and snow load requirements before choosing a kit
- Confirm foundation specifications match the building’s size and intended use
- Verify anchor bolt placement matches manufacturer engineering drawings
- Research permit requirements, which apply to most permanent metal structures
Demolishing Interior Walls Safely
Knocking down a wall to open up a floor plan is one of the most popular renovation trends, and it’s also one of the easiest ways to accidentally compromise your home’s structure. Not every wall is purely cosmetic, and load-bearing walls require temporary support and sometimes a new beam before removal. A demolition contractor can identify which walls carry weight and which are safe to remove without additional engineering, a distinction that isn’t always obvious just by looking at framing.
Hidden wiring, plumbing, and ductwork inside walls add another layer of risk, since cutting into a wall blind can sever a line you didn’t know was there. Before any wall comes down, it’s worth confirming what’s actually running through it and whether it plays a structural role in the house.
- Identify load-bearing walls before any demolition begins
- Shut off utilities in the work area before cutting into drywall
- Check for wiring, plumbing, or ductwork hidden inside the wall cavity
- Arrange temporary support if a load-bearing wall must be opened
Replacing an Aging Furnace
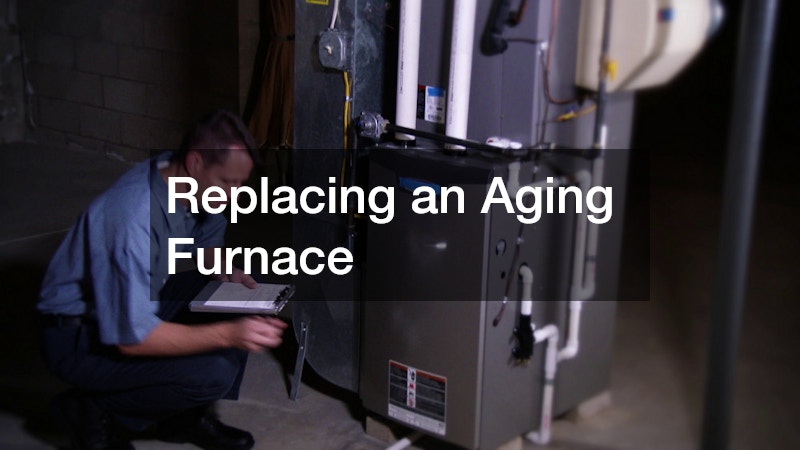
A furnace that’s struggling to keep up with winter temperatures can tempt homeowners into a DIY replacement, especially with unit prices readily available online. But the sticker price on a new furnace is only part of the equation, and skipping professional installation to save on labor costs is where this project often goes wrong.
Furnace installation involves gas line connections, venting requirements, and electrical work that carry real safety risks if done incorrectly, including carbon monoxide exposure. A cracked heat exchanger, a poorly sealed flue, or an improperly vented exhaust can send dangerous fumes back into your living space without any obvious warning signs. Most municipalities also require permits and inspections for gas appliance installation, and an unpermitted job can create problems when you go to sell your home.
A furnace contractor also calculates proper sizing for your home’s square footage, something that’s easy to get wrong without professional load calculations. This involves a Manual J calculation that accounts for insulation levels, window placement, ceiling height, and local climate data, not just a rough square-footage estimate. An undersized furnace will run constantly and never fully heat your home, while an oversized one cycles on and off frequently, wearing out components faster and driving up utility bills. Getting this number wrong can cost you comfort and money for the entire lifespan of the unit.
An oversized or undersized furnace doesn’t just waste energy, it also shortens the system’s lifespan through constant short cycling or overworking. A unit that’s too large heats the house quickly and shuts off before properly circulating air, while one that’s too small runs almost nonstop trying to keep up, and either scenario adds unnecessary wear to the blower motor and heat exchanger.
If your current unit is more than fifteen years old or requires frequent repairs, that’s typically the point where replacement planning should begin rather than waiting for a full breakdown in the coldest part of the year. A good rule of thumb: if a repair estimate exceeds 30-50% of the cost of a new system, replacement usually makes more financial sense than continuing to patch an aging unit.
Sizing a replacement isn’t something to eyeball based on square footage alone. A proper Manual J load calculation accounts for insulation levels, window placement, ceiling height, and local climate, and skipping this step is one of the most common reasons homeowners end up with the exact same efficiency problems in their brand-new furnace.
It’s also worth budgeting for permit and inspection costs, since furnace replacement typically requires both, and improperly permitted work can complicate a home sale or insurance claim down the road.
- Watch for yellow or flickering burner flames instead of a steady blue — this can signal incomplete combustion and carbon monoxide risk, so shut down the unit and call a technician immediately
- Replace furnaces older than fifteen years proactively rather than reactively, since efficiency drops and failure risk climbs sharply after that point
- Confirm proper sizing calculations (a Manual J load calculation, not just a swap for the same tonnage) before choosing a replacement unit, since an oversized or undersized furnace wastes energy and wears out faster
- Schedule annual inspections to catch venting, ignition, or cracked heat exchanger issues early, ideally before each heating season begins
- Install or test a carbon monoxide detector near the furnace and sleeping areas, and replace its batteries every year as cheap insurance
- Budget for replacement costs realistically, since a full furnace swap often runs $3,000 to $7,000 depending on unit size and ductwork changes
The projects covered here all share a common thread: they look simple on the surface but involve systems where small mistakes carry outsized consequences. Knowing when a task is genuinely weekend-friendly and when it calls for a licensed professional protects both your budget and your safety. Before your next project, take an honest inventory of what’s involved, what could go wrong, and what it would cost to fix a mistake versus doing it right the first time. That single evaluation is often the most valuable step in the entire process.